Installation (pre v2.8)
These instructions are only for older versions before v2.8 - please see this page for Installation for version 2.8+
|
-
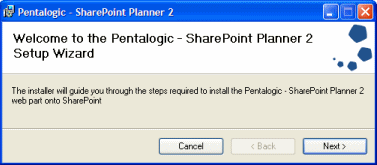
Double click the Pentalogic.SharePoint.Planner2.MSI
file to start installation
|
|
-
You have a choice to register the Web Part with
SharePoint Automatically or Manually
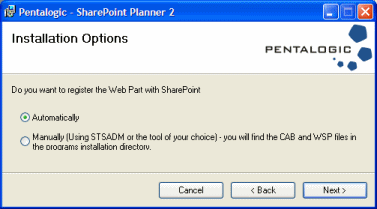
Automatically
If you are running the install routine on a
SharePoint server with a single Web Front End (WFE) then the web part can be registered
automatically.
If you are running WSSv2 or SharePoint 2003 then the web part file will be installed in the GAC.
If you are running WSSv3 or SharePoint 2007 then the web
part file will be installed in the BIN directory (with
resources file installed to the GAC)
(Note - due to limitations in
SharePoints deployment facility you must
manually deploy
the French language resource file
Pentalogic.SharePointPlanner2.resources.dll when
performing an automatic installation if you wish to use
the French language localization)
If you are using a farm with multiple WFE's, require
Planner to be able to use
3rd party or internally developed custom field features
that are installed into the GAC or have other
specialised installation requirements you should chose
the manual option.
Manually
A CAB and WSP web part file can be found in the Web
Part Files directory and these can be installed Manually
as detailed here.
|
|
-
Removing SharePoint Planner
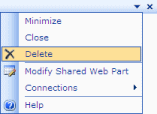
Firstly delete the web part from any pages you have
added it to.
Note - in order to delete a web part you have to
be editing the Shared view of a page, selecting 'Close'
does not delete a web part.
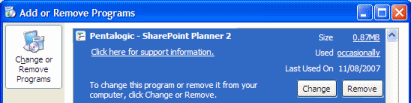
From the Add or Remove Programs screen find the
Pentalogic - SharePoint Planner 2 entry and select Remove
If you installed the Web Part onto SharePoint
manually then you will also have to
remove it manually.
|



 Sign up for our monthly email newsletter.